Introduction
I’ve started learning SwiftUI, so I tried building a card that animates when tapped. I’m keeping this as a record of my learning.
Here’s how it turned out.
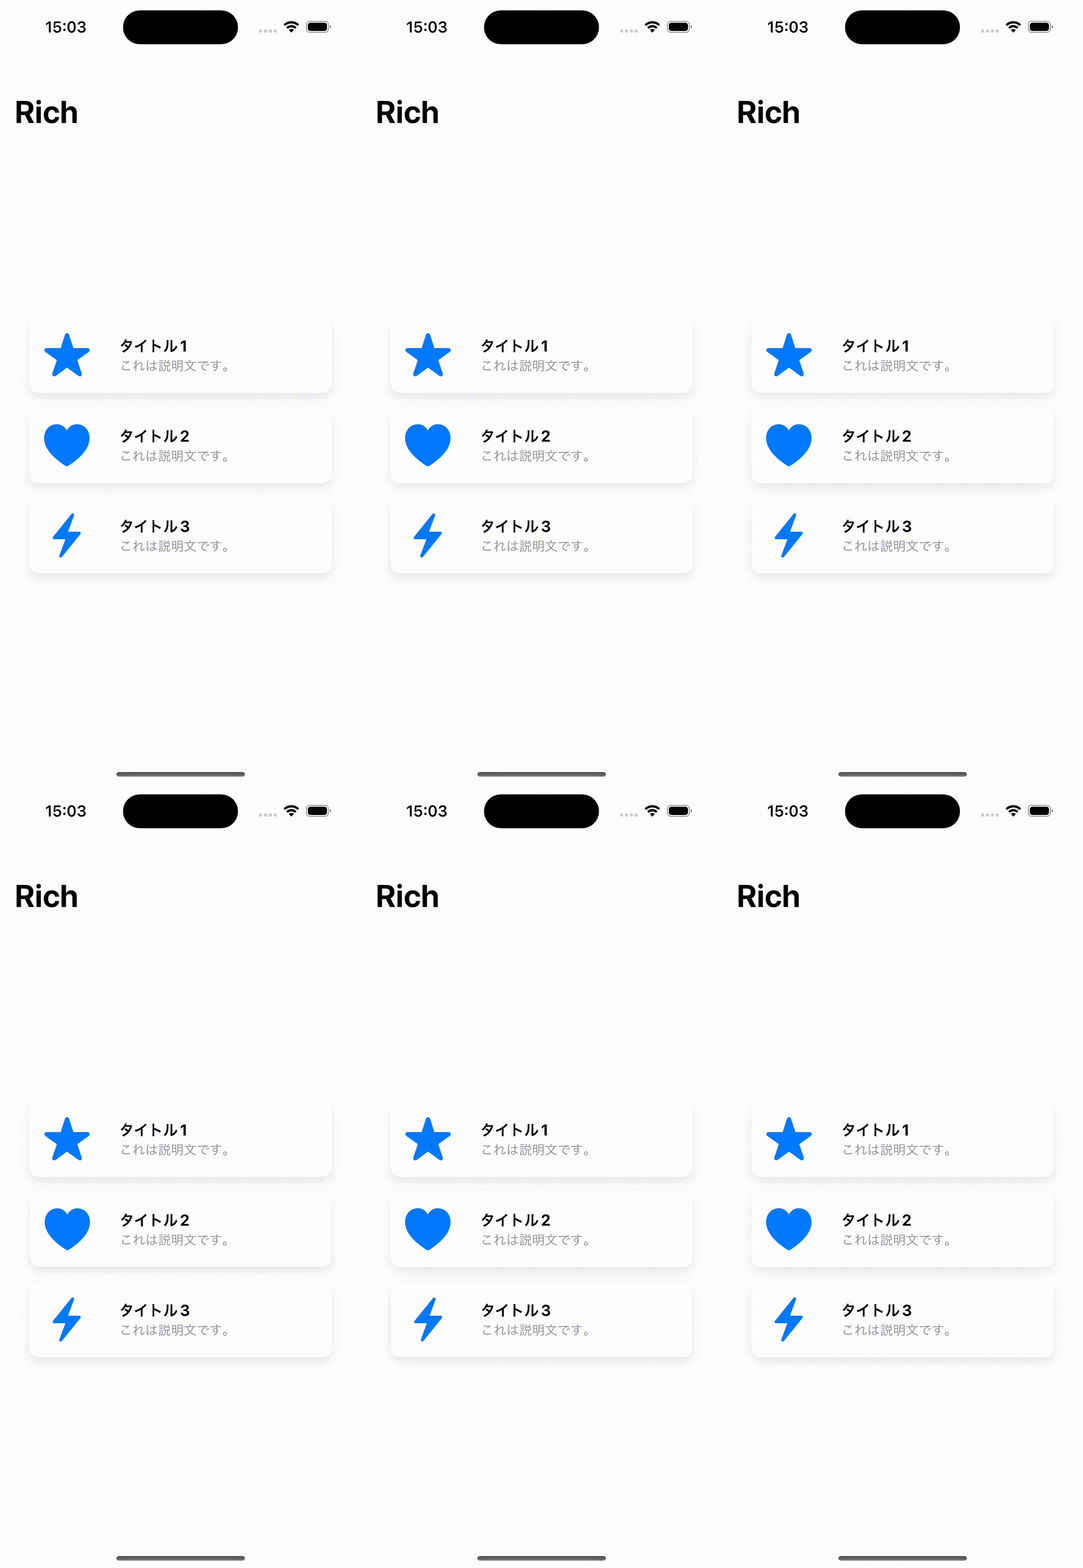
Building It
import SwiftUI

struct ContentView: View {
    var body: some View {
        NavigationView {
            VStack(spacing: 16) {
                CardView(icon: "star.fill", title: "Title 1", description: "This is a description.")
                CardView(icon: "heart.fill", title: "Title 2", description: "This is a description.")
                CardView(icon: "bolt.fill", title: "Title 3", description: "This is a description.")
            }
            .padding()
            .navigationTitle("Rich")
        }
    }
}

struct CardView: View {
    let icon: String
    let title: String
    let description: String

    var body: some View {
        HStack {
            Image(systemName: icon)
                .resizable()
                .aspectRatio(contentMode: .fit)
                .frame(width: 50, height: 50)
                .foregroundColor(.blue)
                .padding()

            VStack(alignment: .leading) {
                Text(title)
                    .font(.headline)
                    .fontWeight(.bold)

                Text(description)
                    .font(.subheadline)
                    .foregroundColor(.gray)
            }
            .padding(.leading, 8)

            Spacer()
        }
        .background(Color.white)
        .cornerRadius(10)
        .shadow(color: Color.gray.opacity(0.2), radius: 5, x: 0, y: 5)
        .padding(.horizontal)
        .onTapGesture {
            // Handle the tap on the button
        }
    }
}

struct ContentView_Previews: PreviewProvider {
    static var previews: some View {
        ContentView()
    }
}
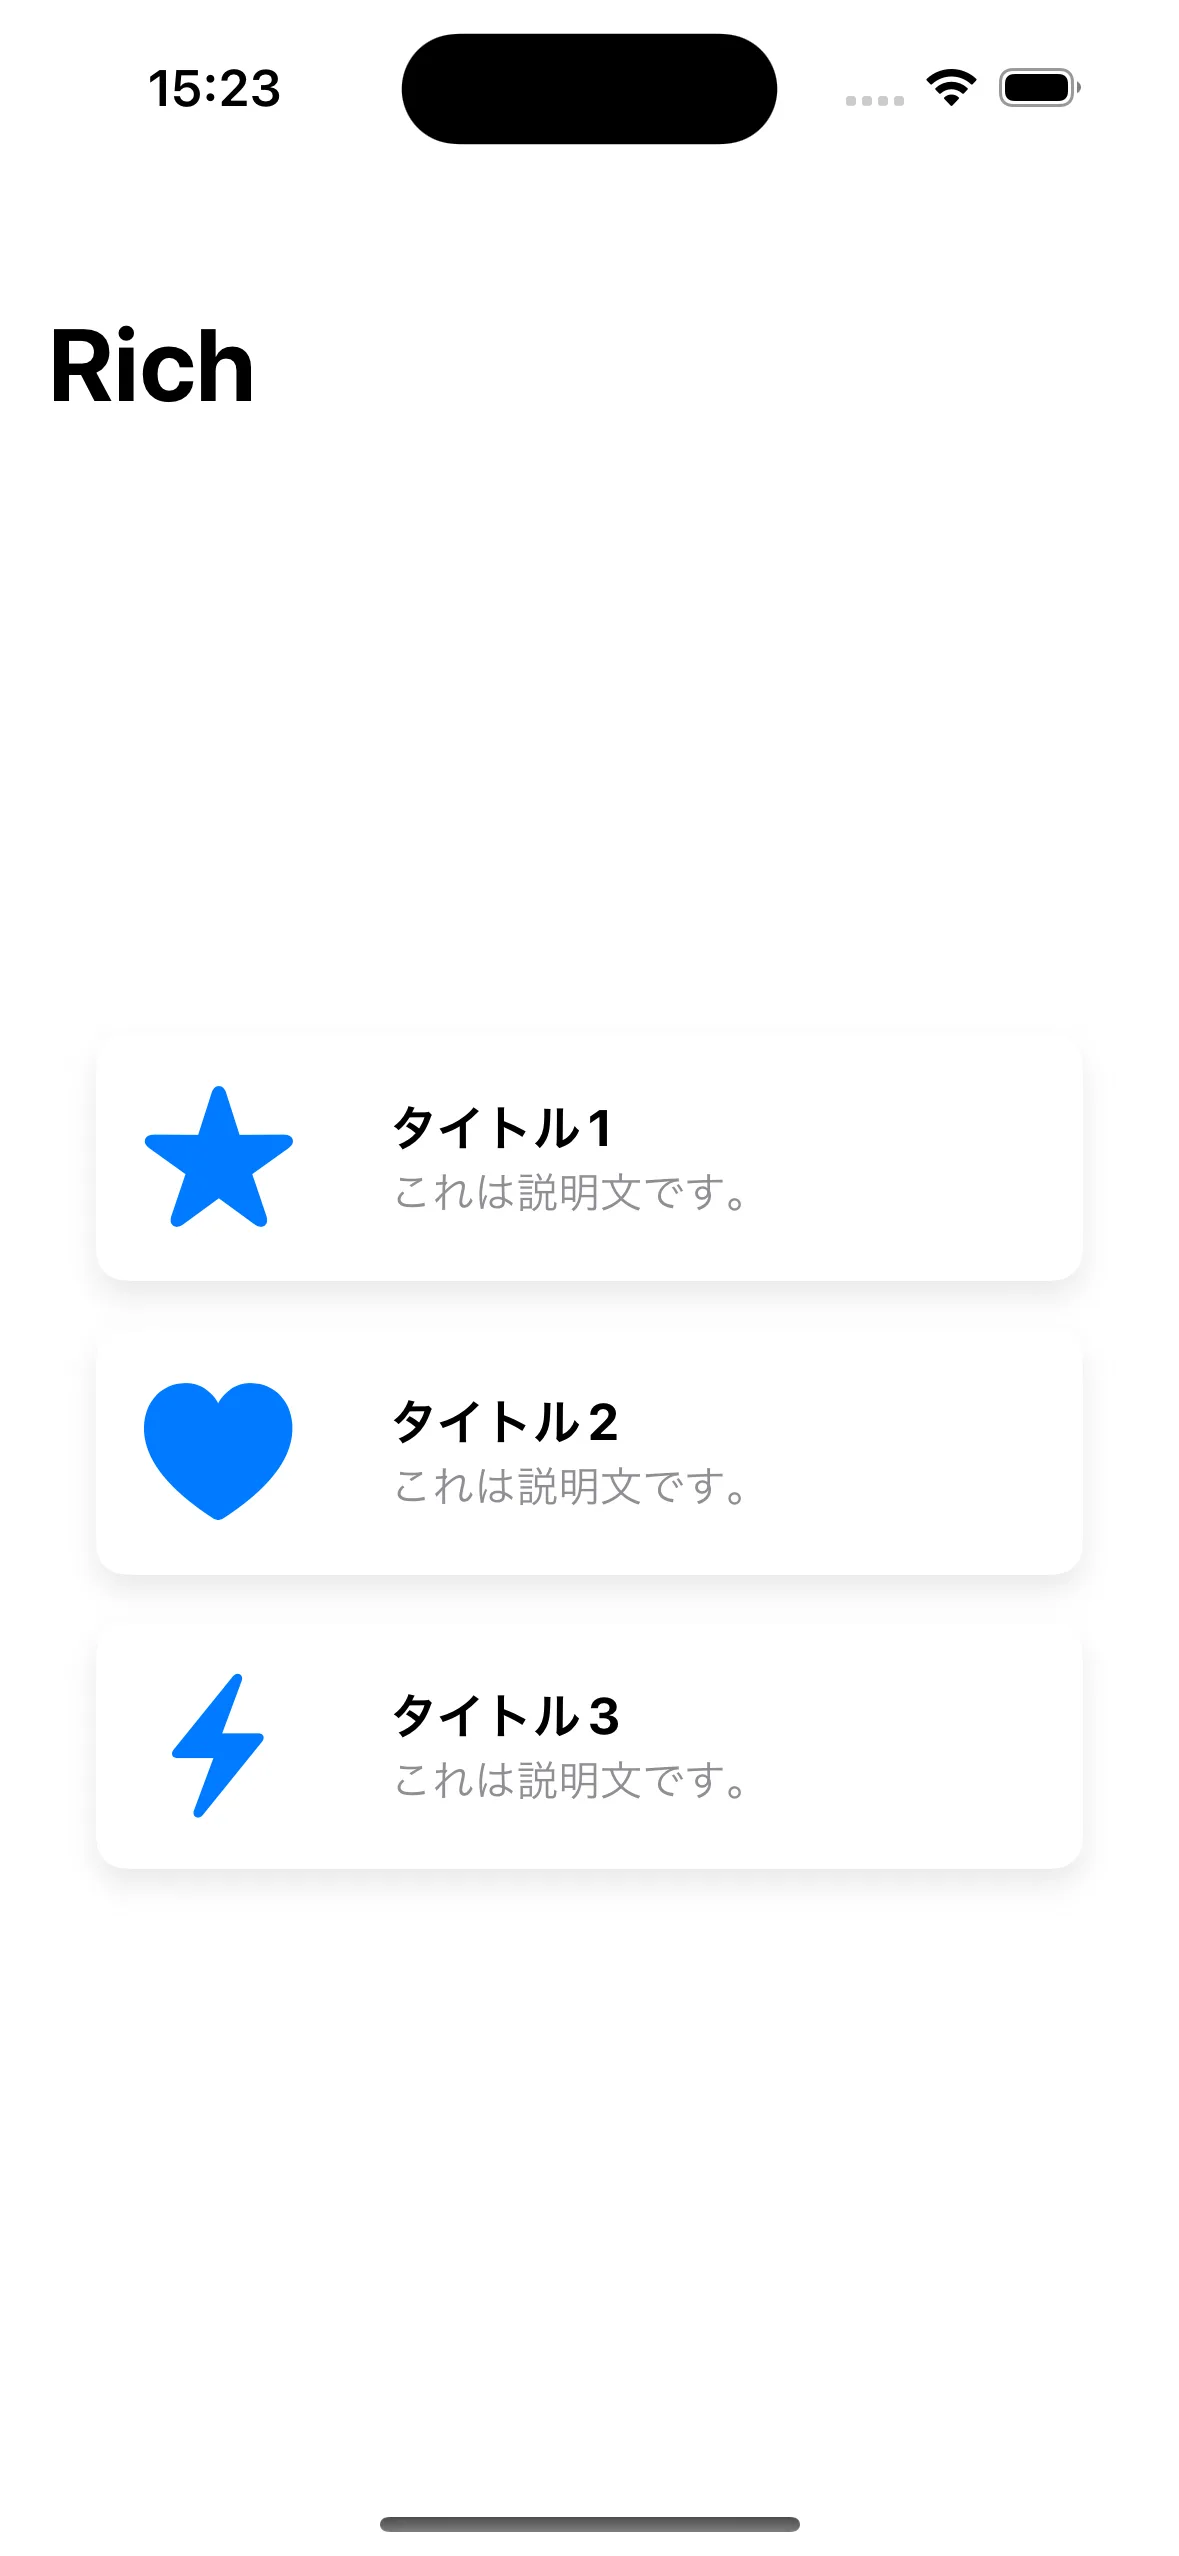
Once you’ve written this much, it looks like this.
Adding the Animation
Now that we’ve got this far, let’s add the animation.
struct CardView: View {
    let icon: String
    let title: String
    let description: String
    let height: CGFloat
+   @State private var isPressed = false

    var body: some View {
        HStack {
            Image(systemName: icon)
                .resizable()
                .aspectRatio(contentMode: .fit)
                .frame(width: 50, height: 50)
                .foregroundColor(.blue)
                .padding()

            VStack(alignment: .leading) {
                Text(title)
                    .font(.headline)
                    .fontWeight(.bold)

                Text(description)
                    .font(.subheadline)
                    .foregroundColor(.gray)
            }
            .padding(.leading, 8)

            Spacer()
        }
        .frame(height: height)
        .background(Color.white)
        .cornerRadius(15)
        .shadow(color: Color.gray.opacity(0.2), radius: 5, x: 0, y: 5)
        .padding(.horizontal)
-        .onTapGesture {
-            // Handle the tap on the button
-        }
+        .scaleEffect(isPressed ? 1.05 : 1.0)
+        .animation(.spring(response: 0.3, dampingFraction: 0.6, blendDuration: 0.2), value: isPressed)
+        .onTapGesture {
+            withAnimation {
+                isPressed.toggle()
+            }
+            DispatchQueue.main.asyncAfter(deadline: .now() + 0.2) {
+                withAnimation {
+                    isPressed.toggle()
+                }
+            }
+        }
    }
}
Build this, and you should get an animation that plays when you tap the card, like this!