What is giscus
A comment system built on GitHub’s Discussion feature. If you have a GitHub account, you can set it up easily and start commenting right away.
Trying it out in Next.js
You may want to add it to a site or blog built with Next.js. I actually tried it out in Next.js, so let me walk through the steps.
Demo
1. Configuring giscus
-
Create a repository.
-
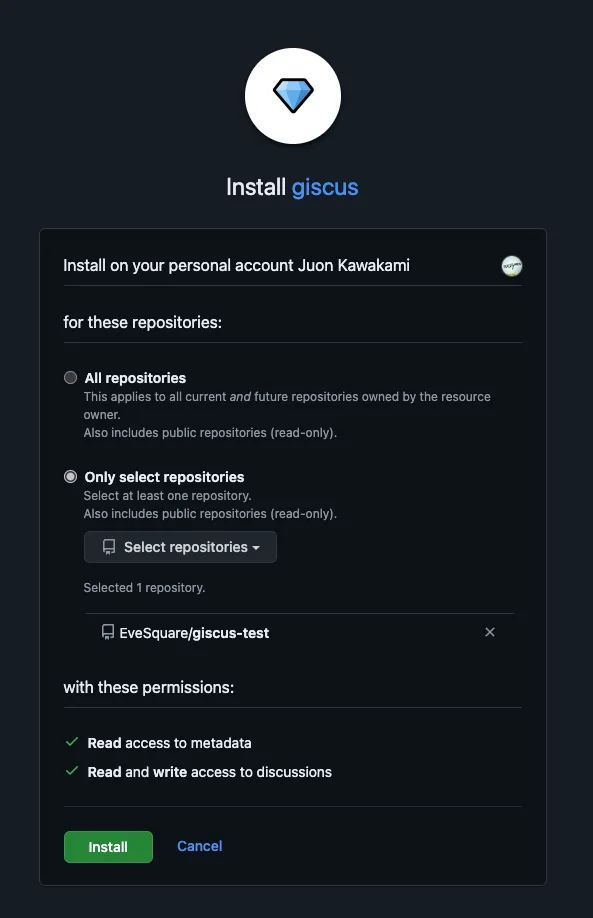
Install giscus into the repository you created.
-
Enable Discussions from the repository’s Settings.
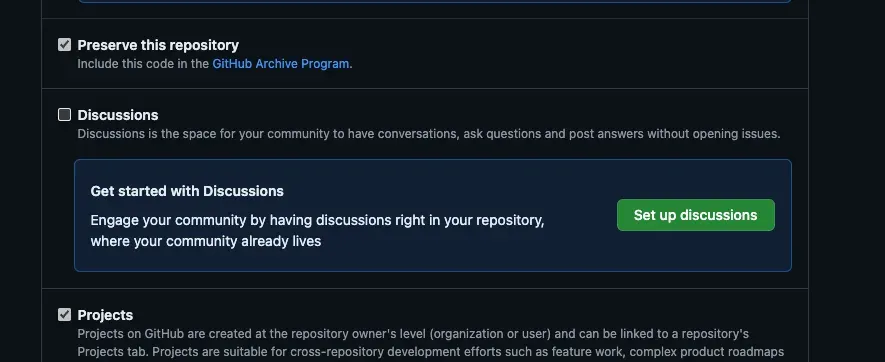
You can configure everything step by step at https://giscus.app/ja.
2. Using it in Next.js
Embed giscus into a page of a Next.js app built with the App Router. The full code is available in this repository.
 https://github.com/EveSquare/giscus-test
export const Giscus = () => {
return (
<>
<div className="giscus"></div>
<script
src="https://giscus.app/client.js"
data-repo="EveSquare/giscus-test"
// ...paste the script tag you created in step (1.).
></script>
</>
);
};3. Checking that it works
If you render the component as is, a Hydration Error occurs, so use Dynamic Import to load the component.
import dynamic from "next/dynamic";

const Giscus = dynamic(() => import("@/app/giscus").then((m) => m.Giscus), {
  ssr: false,
});

export default function Home() {
  return (
    <main>
      <Giscus />
    </main>
  );
}
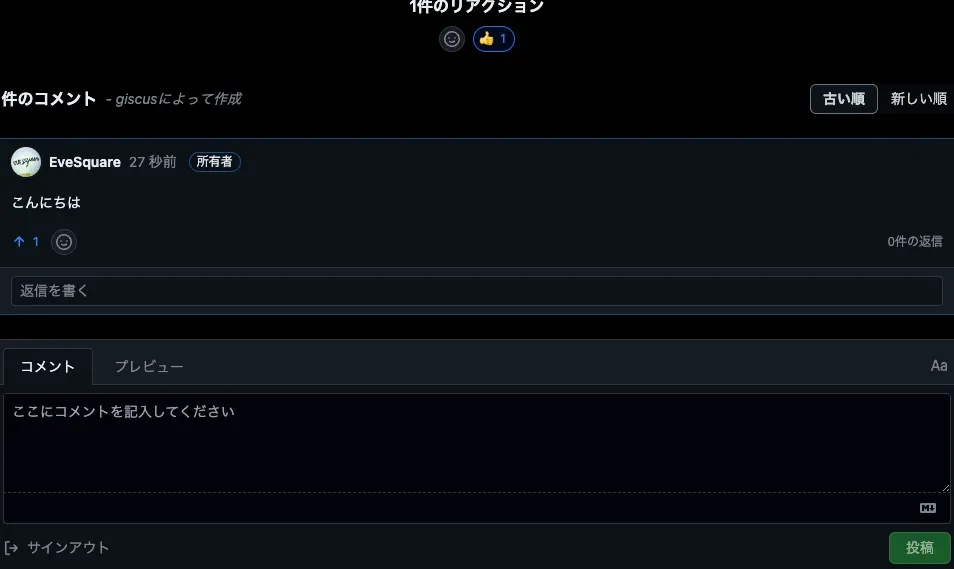
Once I left a comment locally…
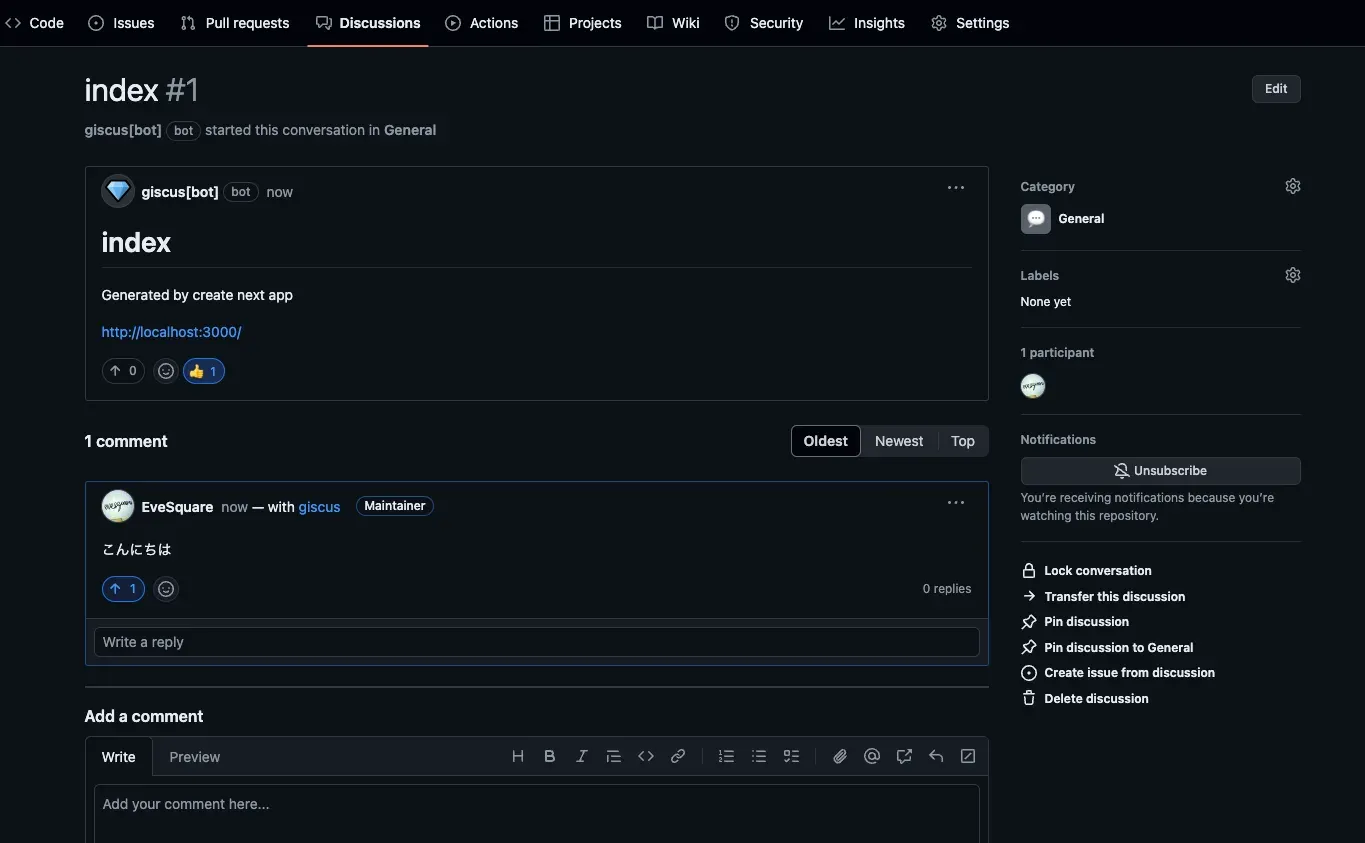
It’s reflected on the GitHub Discussions side too ✨
Summary
I walked through the steps for using giscus with Next.js. You can add a comment system easily, so give it a try.